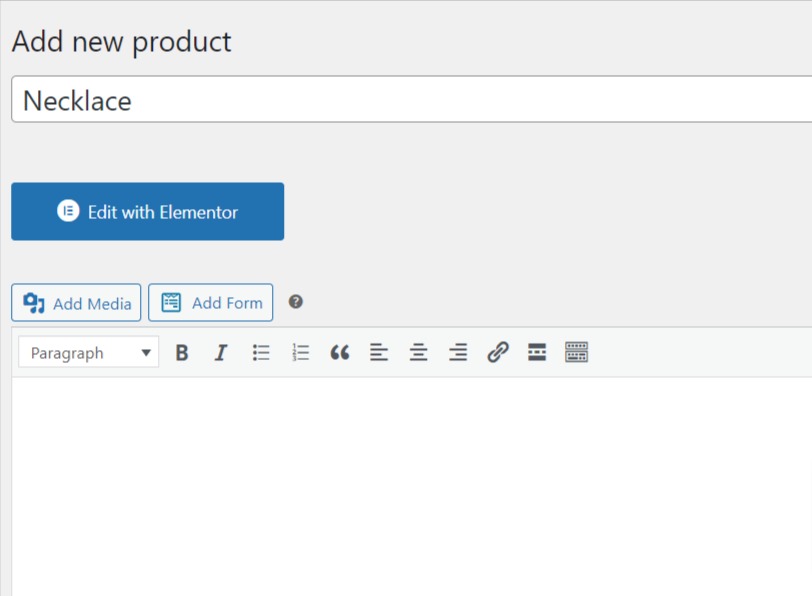
You can now add your own product by clicking ‘add new’ under products and then enter your product details.
How to Create an Online Store
Part 1: Launch Your Website
Step 1
Pick a name for your Online Store website
Once you pick your Domain Name through, Namecheap
Go to Step No.2 below


Step 2
Get Your Hosting
After picking your site’s name, the next step is to get hosting. Hosting puts your website on the internet.
However, if you want to choose your web host based on your website analytics and techie level, This page will help you to make the right decision based on your needs.
Step 3
Point Your Domain to Host Server
Pointing your domain to a hosting server involves configuring the domain’s DNS (Domain Name System) settings to route traffic to the IP address of your hosting server. You need to enter A Record to point your domain to new hosting.
If you don’t know how to do this, read my complete article here: how to point a domain to a new host.
Step 4
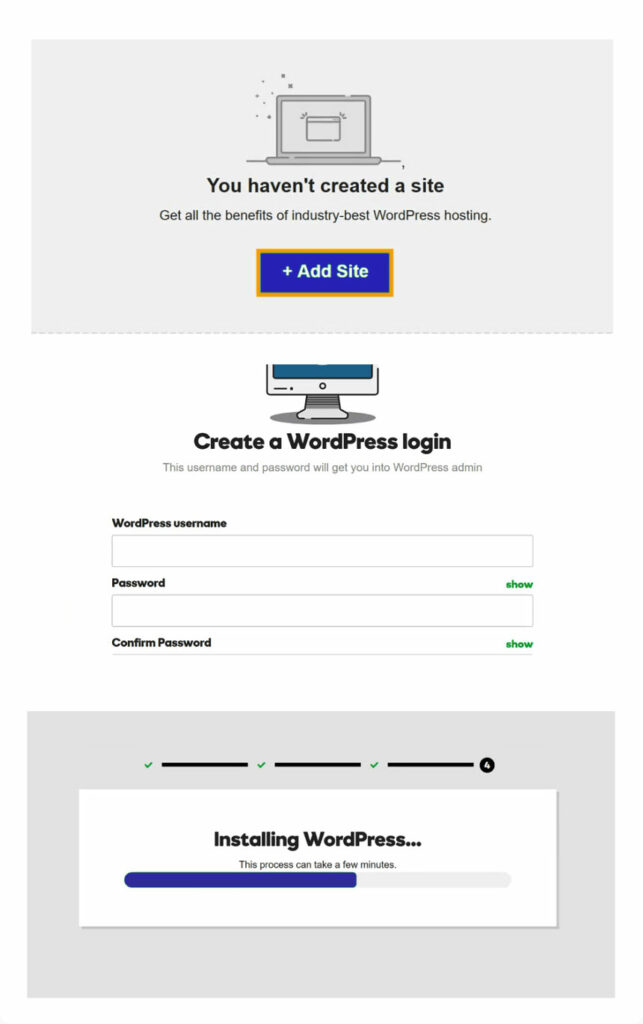
1. Install WordPress
WordPress is the online tool, we’re going to use for building an Online Store or E-commerce Website.
It lets you build your website easily, without the need for any coding (or programming).
Most of the hosting companies provide 1 Click WordPress installation, for example if I talk about Cloudways it provides you different platforms such as Laravel, WordPress, Custom PHP and Magento etc to install WordPress on VPS servers like Digital Ocean, AWS (Amazon) and Google Cloud.
If you’re using cPanel, you’ll also find a one-click option to install WordPress; you can access it through Softaculous.
Part 2
Import Sample Site
1. Login to WordPress
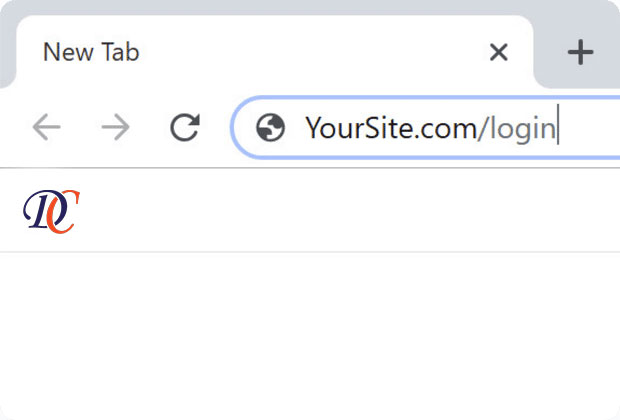
To import the sample e-commerce site, you need to first log in to your WordPress website (so that you have control over your website)
2. Install Your Theme
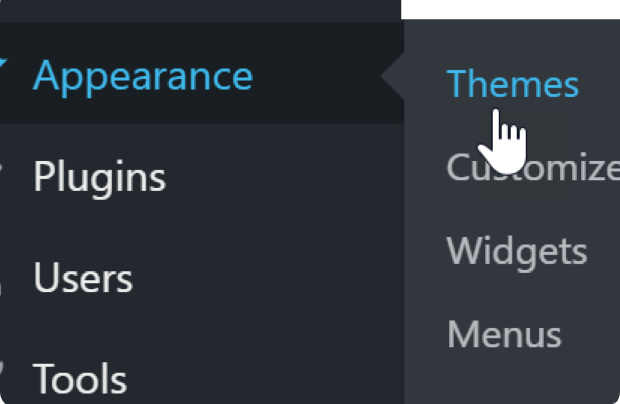
Next install the ‘Kadence’ theme on WordPress, which is going to allow you, to import the sample site.

3. Import Demo
Finally, import the demo by going to WordPress Dashboard> ‘Appearance’> ‘Starter Templates’ > Click on the ‘Fashion Designer’ demo, under e-commerce. Add Your Logo and Import Demo
Part3
Its Time to Setup Your Store
1. Delete Sample Data
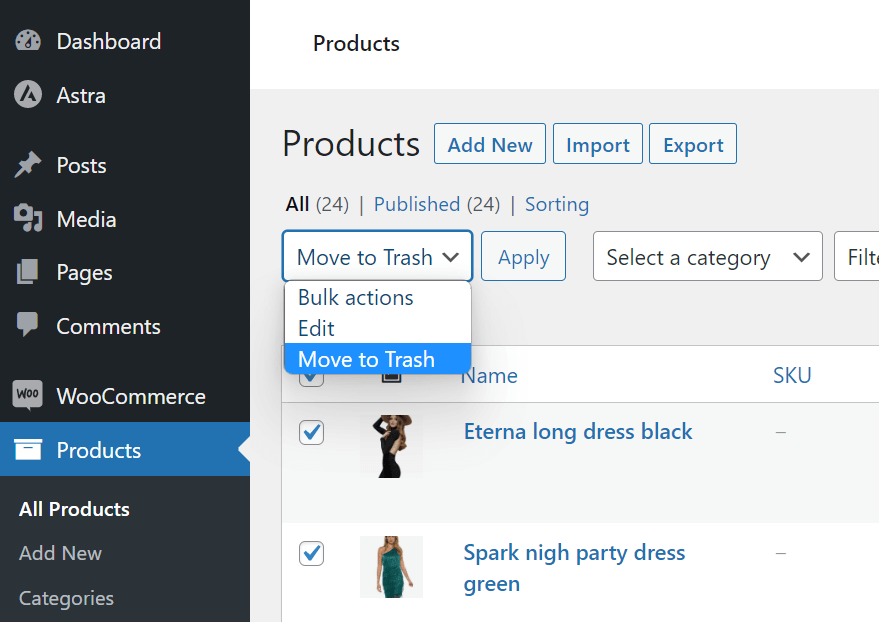
To configure your store as per your needs, first, delete all the sample data such as products that were imported from the theme demo. Go to your dashboard > products > and delete all sample products.
2. Add Your Products
3. Change currency
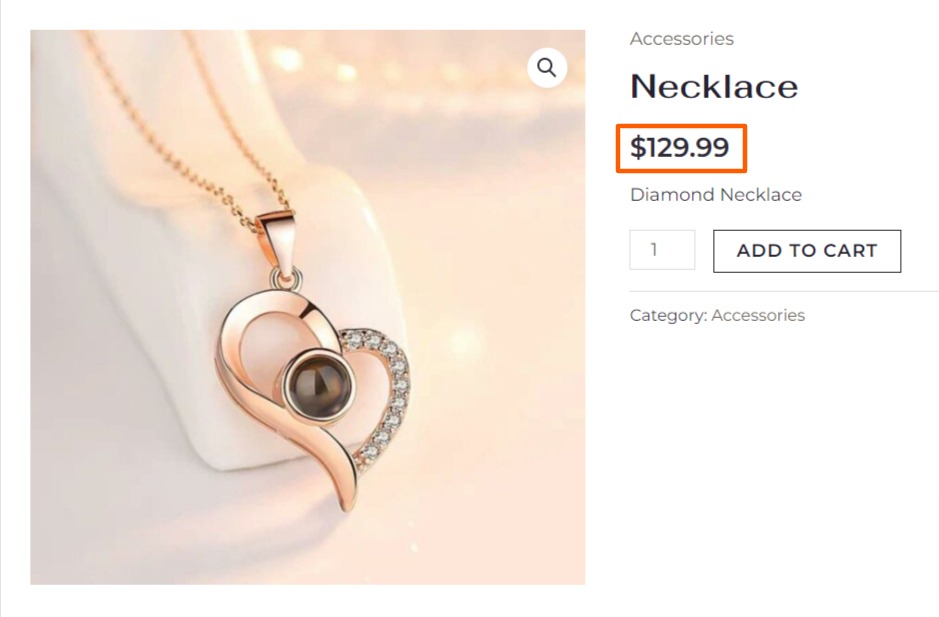
After adding your product, you can change the product price to ‘Rupee’ or any other currency by going to WooCommerce > Settings > General and selecting your currency.
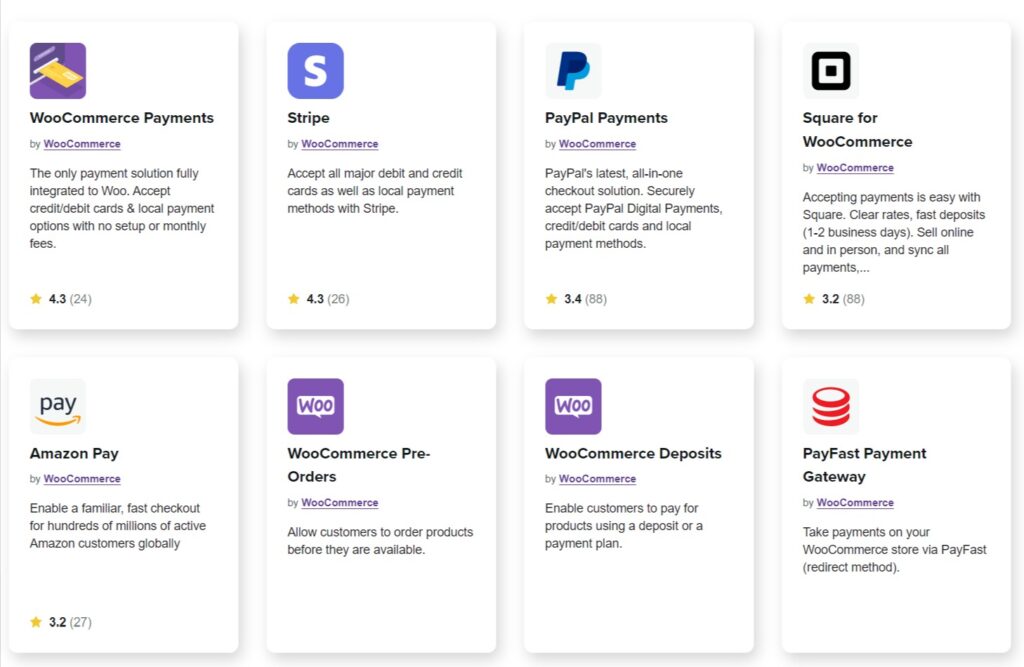
4. Configure Payment Method
To let your customers to pay for your products you need to configure any payment method available in your region that will allow you to receive payments directly to your bank account, when someone purchases, your product.
Results you will achieve at this point
1. Online Store is Ready
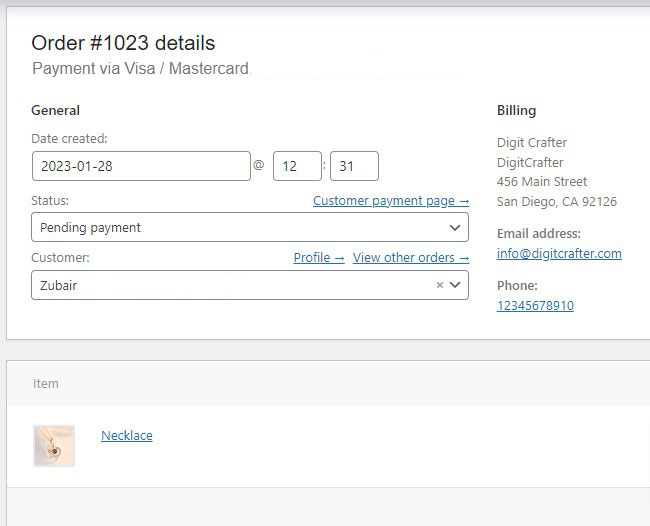
Now, your Customers will be able to place orders on your website using an online payment gateway you configured earlier.

2. New Order Notifications
You’ll be notified, via email, when someone places an order. If you have trouble receiving emails, watch this video.
Part4
Customize the Design of Your Website

1. Page Design Customization
To edit a page on your site, go to that page & click ‘Edit with Elementor’. You can now edit the page visually, by selecting & changing the text and graphics.
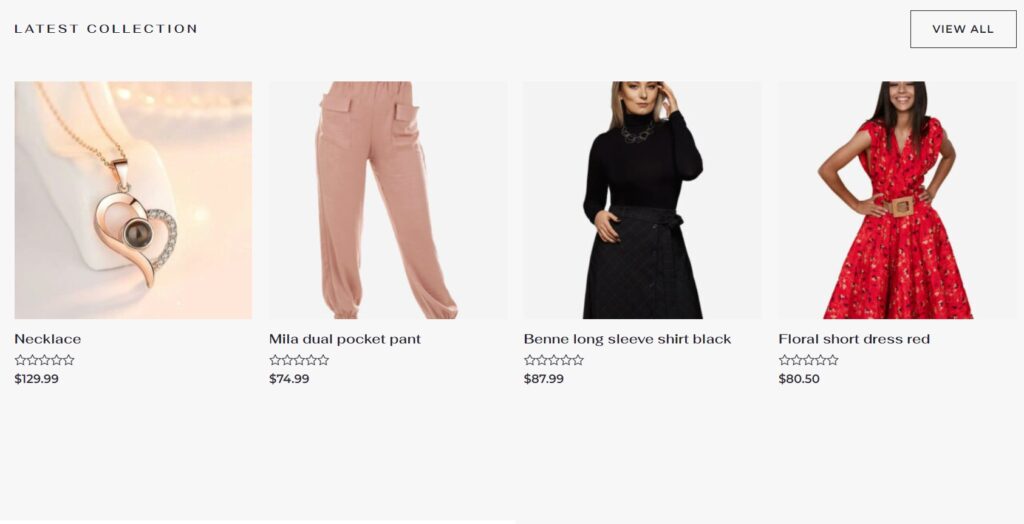
2. Adding Products to Store
To add your products to your homepage, just go to the Dashboard > Products > Add New. New products added will start showing on the homepage.
3. Add Your Logo
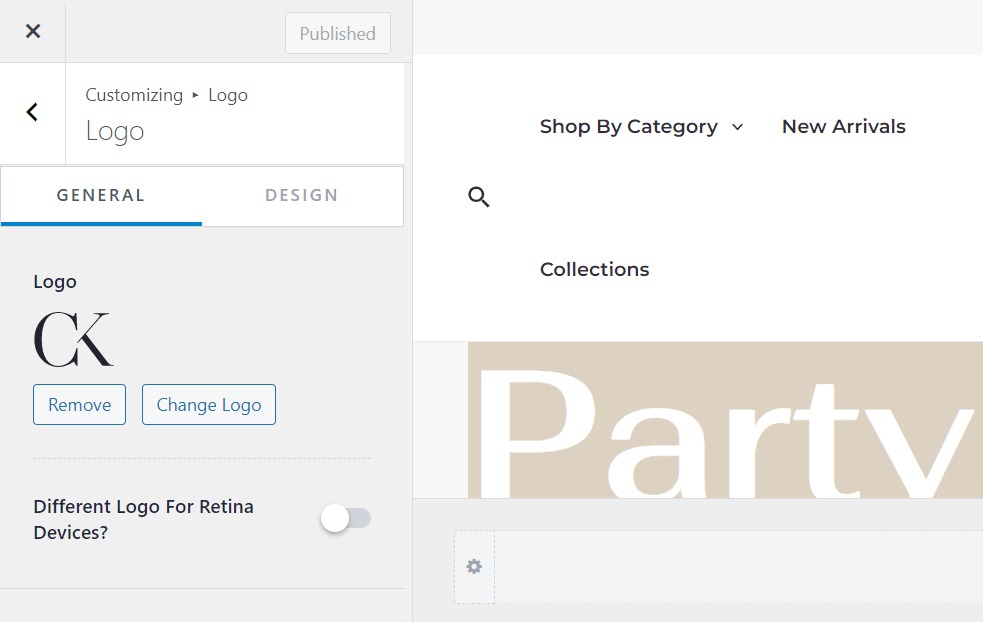
To replace your logo, all you have to do is, go to Appearance > Customize > Site Identity > Site Title & Logo Settings. Click the ‘Change Logo’ button next to your logo, and now select your desired logo to upload.
4. Editing the menu
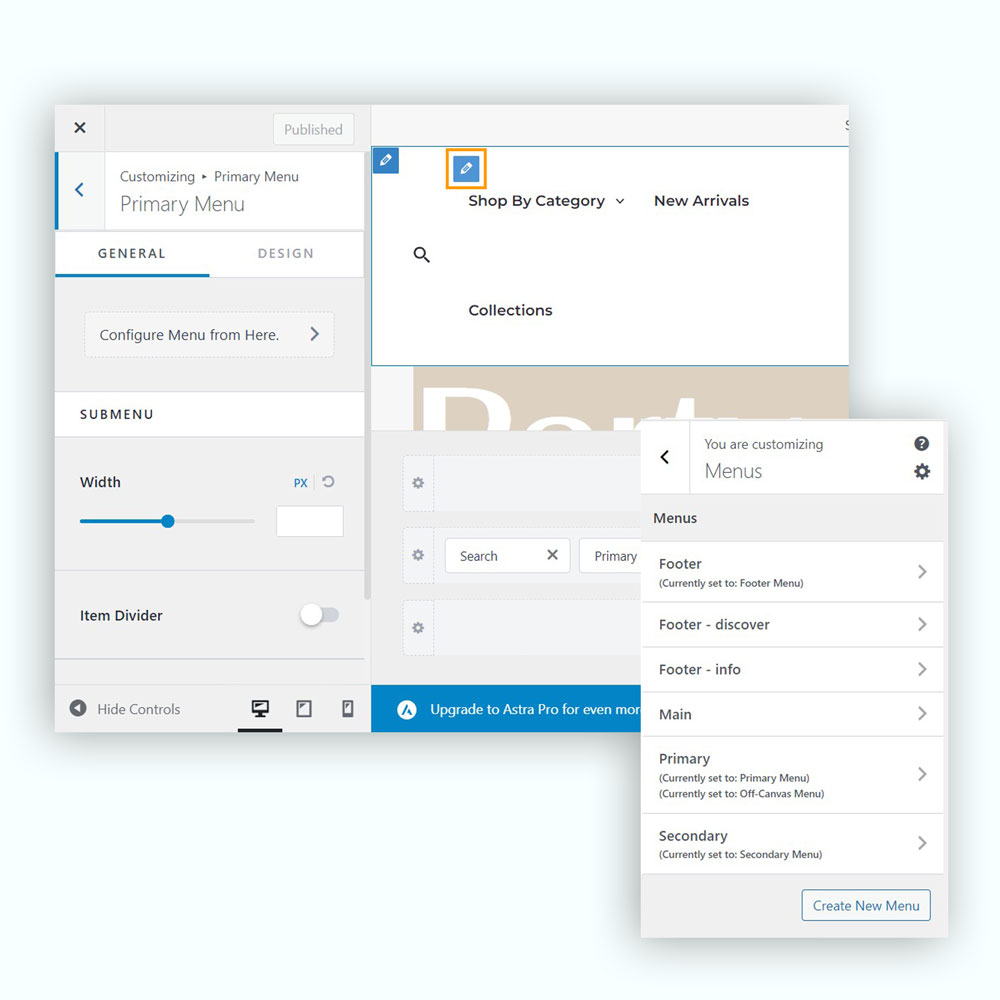
To add/modify Menu Items, go to Appearance > Customize > Menus > and click on any menu item to edit its items. To modify design of the menu, click the blue icon next to your menu, here you can change design of your menu from the left side.
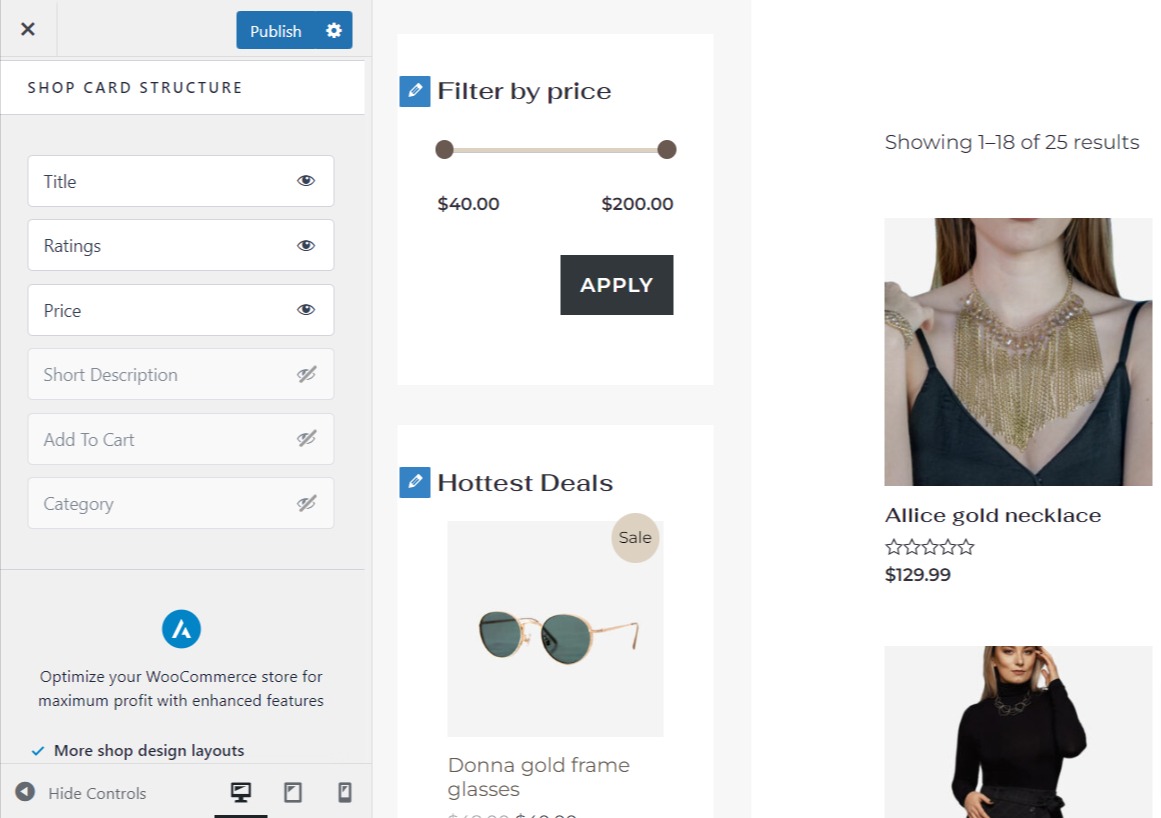
5. Customizing your Shop
To customize your Shop Design, all you need to do is to click on Appearance > Customize > WooCommerce > Product Catalogue. Here you need to customize the design of your shop page according to your needs. Now just enable/disable the options which you want to display/hide on your shop page.
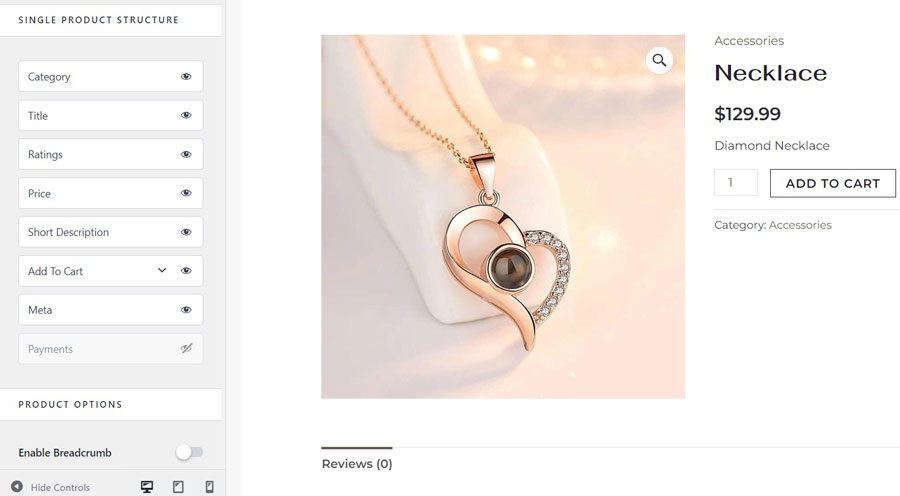
6. Change Single Product Page
To customize your Single Product Page Design, click on Appearance > Customize > WooCommerce > Single Product. Here you need to customize the design of your single product page, e.g. Category, Title, Price, Description, etc. to display/hide on your Singe Product Page.

You are ready to launch your E-commerce website
If you’ve followed the steps in this guide correctly, you should then have a fully-functional WordPress Store!
